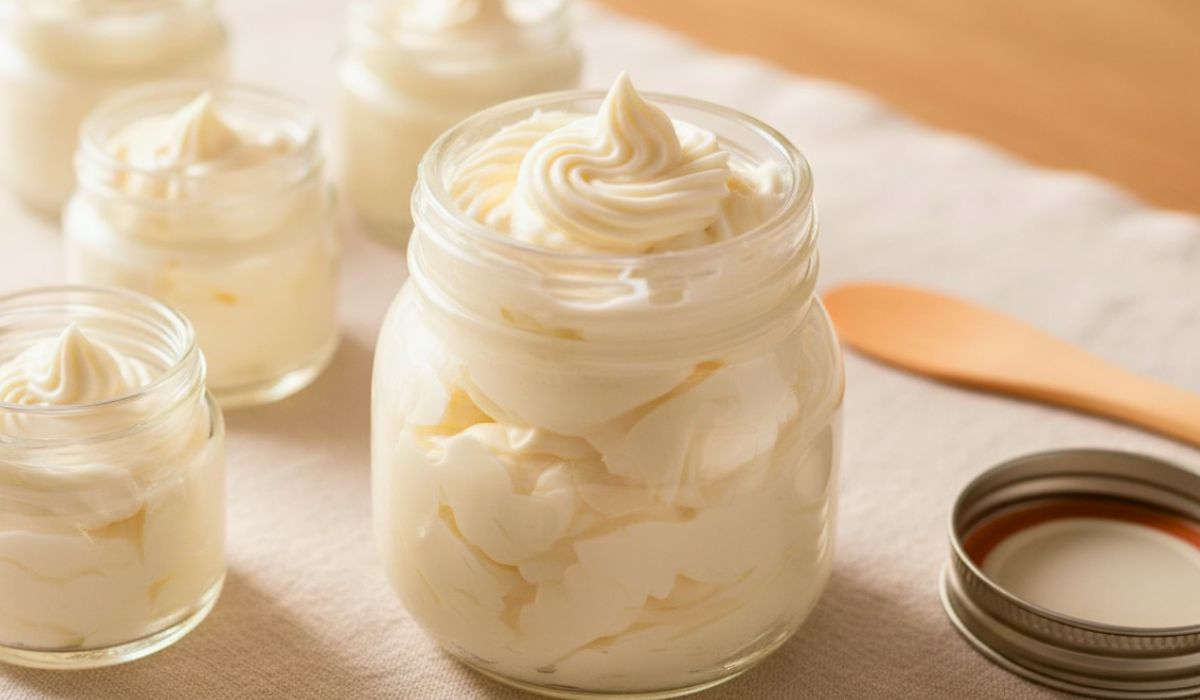
This DIY Whipped Body Butter Recipe is perfect for soft skin. It feels light, creamy and very smooth. You can make it at home with simple things. You only need a few natural oils and butters.
This DIY Whipped Body Butter Recipe is great for dry skin days. It helps your skin feel soft all day. You can also add your favorite scent. I love how quick and fun this project is.
You will enjoy the process and the result. The best part is you know every ingredient. Try this DIY Whipped Body Butter Recipe once and you will want more.
My Experience With This Recipe
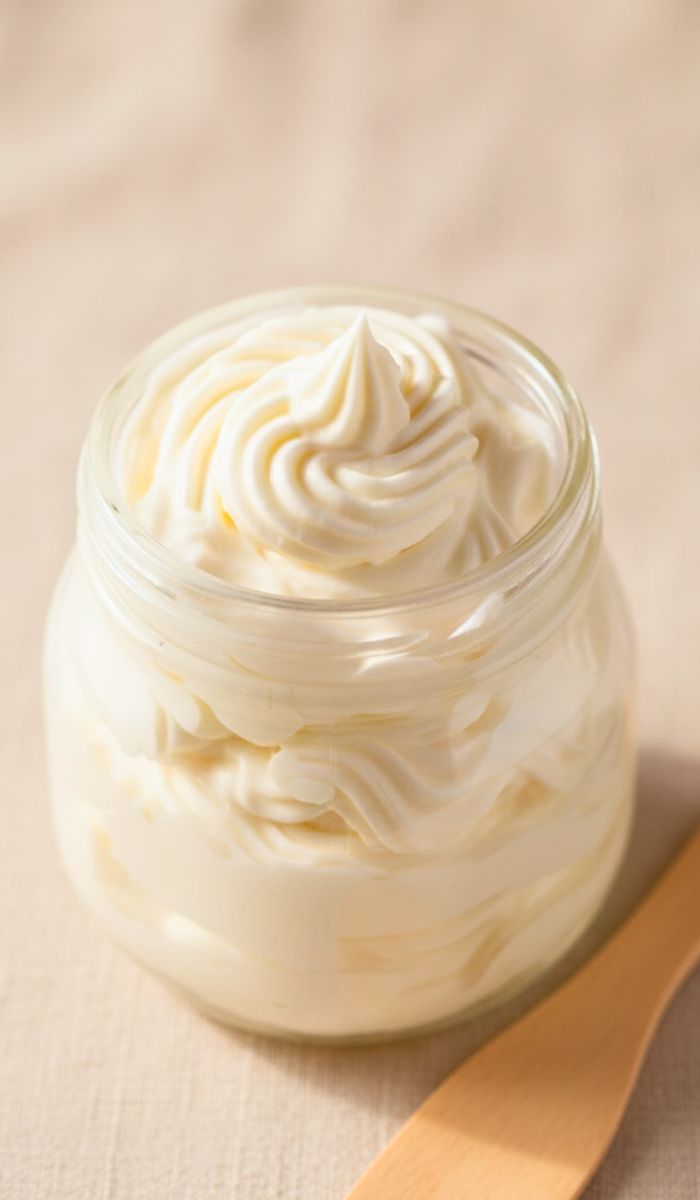
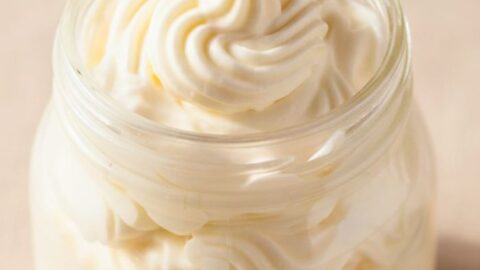
I love this recipe because it feels like a small spa moment at home. The butter becomes soft and fluffy after whipping. It melts on the skin right away.
I use it after a shower and my skin stays smooth for hours. It is also a great gift idea. Every time I make a new batch, I enjoy the smell and texture. It is easy, calming and fun.
Recipe Card Info
- Recipe Name: DIY Whipped Body Butter
- Servings: 6 small jars
- Prep Time: 15 mins
- Cook Time: 10 mins
- Total Time: 25 mins
- Course: Skincare
- Cuisine: DIY Beauty
- Calories: Not applicable
Equipment List
- Mixing bowl
- Hand mixer or stand mixer
- Double boiler or saucepan
- Silicone spatula
- Small jars with lids
- Measuring cups
Ingredients You Need for DIY Whipped Body Butter
- 1 cup shea butter
- ½ cup coconut oil
- ½ cup sweet almond oil
- 1 tablespoon vitamin E oil
- 10–15 drops essential oil (any scent you like)
Instructions
- Melt the Oils
Heat shea butter and coconut oil in a double boiler. Stir until fully melted and smooth. - Add Almond Oil
Remove from heat. Add sweet almond oil to the warm mix. Stir slowly until combined well. - Cool the Mix
Place the bowl in the fridge. Let the mix cool until partly solid. - Whip the Butter
Use a mixer. Whip the mixture until light, fluffy and creamy. - Add Vitamin E
Pour in vitamin E oil. Mix again until fully combined and smooth. - Add Essential Oil
Add 10–15 drops of your favorite essential oil. Whip again for even scent. - Whip Again
Whip for extra two minutes. This makes the butter very soft and airy. - Fill the Jars
Scoop the whipped butter into clean jars. Close the lids tightly to keep it fresh. - Label and Store
Label the jars if you want. Store them in a cool and dry place. - Use on Skin
Take a small amount. Rub gently on your skin until it melts and absorbs.
Recipe Tips
- Do not overheat the oils. Warm them slowly for best texture.
- Chill the mix only until partly solid. If it gets too hard, let it soften.
- Use a cold bowl to help the butter whip faster.
- Add more essential oil for a stronger scent.
- Use clean jars to keep the butter fresh longer.
Nutrition Information
| Item | Amount |
|---|---|
| Calories | Not for eating |
| Fat | High natural oils |
| Added Sugar | 0 |
| Preservatives | None |
Serving Suggestions
You can use this body butter after a bath for soft skin. It works well on dry hands, legs and elbows. Use a small amount because it melts fast. You can also gift small jars to friends. Add ribbons for a cute touch.
Best Sides to Serve With
This is a skincare recipe, not a food recipe, but you can pair this DIY project with other fun DIY items. Try making sugar scrubs, lip balms or bath salts on the same day. They all match well with this body butter for a full spa vibe.
Storage and Reheating Tips
Store the body butter in a cool place. Warm rooms can melt it. If it melts, place it in the fridge for ten minutes. Do not microwave it because it may lose the fluffy texture. Keep jars closed to avoid dust.
DIY Whipped Body Butter Recipe
Ingredients
- 1 cup shea butter
- ½ cup coconut oil
- ½ cup sweet almond oil
- 1 tablespoon vitamin E oil
- 10 –15 drops essential oil any scent you like
Instructions
Melt the Oils
- Heat shea butter and coconut oil in a double boiler. Stir until fully melted and smooth.
Add Almond Oil
- Remove from heat. Add sweet almond oil to the warm mix. Stir slowly until combined well.
Cool the Mix
- Place the bowl in the fridge. Let the mix cool until partly solid.
Whip the Butter
- Use a mixer. Whip the mixture until light, fluffy and creamy.
Add Vitamin E
- Pour in vitamin E oil. Mix again until fully combined and smooth.
Add Essential Oil
- Add 10–15 drops of your favorite essential oil. Whip again for even scent.
Whip Again
- Whip for extra two minutes. This makes the butter very soft and airy.
Fill the Jars
- Scoop the whipped butter into clean jars. Close the lids tightly to keep it fresh.
Label and Store
- Label the jars if you want. Store them in a cool and dry place.
Use on Skin
- Take a small amount. Rub gently on your skin until it melts and absorbs.
Notes
- Do not overheat the oils. Warm them slowly for best texture.
- Chill the mix only until partly solid. If it gets too hard, let it soften.
- Use a cold bowl to help the butter whip faster.
- Add more essential oil for a stronger scent.
- Use clean jars to keep the butter fresh longer.
FAQs About DIY Whipped Body Butter Recipe
1. How long does homemade body butter last?
It can last up to six months if stored in a cool place. Keep the jar clean and tightly closed. Make small batches for best freshness.
2. Can I use other oils in this recipe?
Yes, you can try jojoba oil or olive oil. Just keep the total oil amount the same. This helps keep the texture soft and fluffy.
3. Why is my body butter not whipping well?
The mix may be too warm. Place it back in the fridge for ten minutes. Whip again until it becomes light and creamy.
4. Is this safe for sensitive skin?
The ingredients are gentle, but always test a small area first. Some essential oils may irritate sensitive skin, so choose light scents.
5. Can I make this recipe without essential oils?
Yes, you can skip the scent. The butter will still feel soft, smooth and moisturizing. Plain butter works well for sensitive skin.
Conclusion
This DIY Whipped Body Butter Recipe is simple, fun and very soothing. You only need a few natural ingredients.
The butter feels soft, creamy and perfect for dry skin. It is a great gift idea and an easy self-care project. Try this recipe once and enjoy soft skin every day.
Sara Collins is a food blogger at TastyDive. She shares simple and family-friendly recipes made with everyday ingredients. Her mission is to help home cooks enjoy tasty meals without stress.