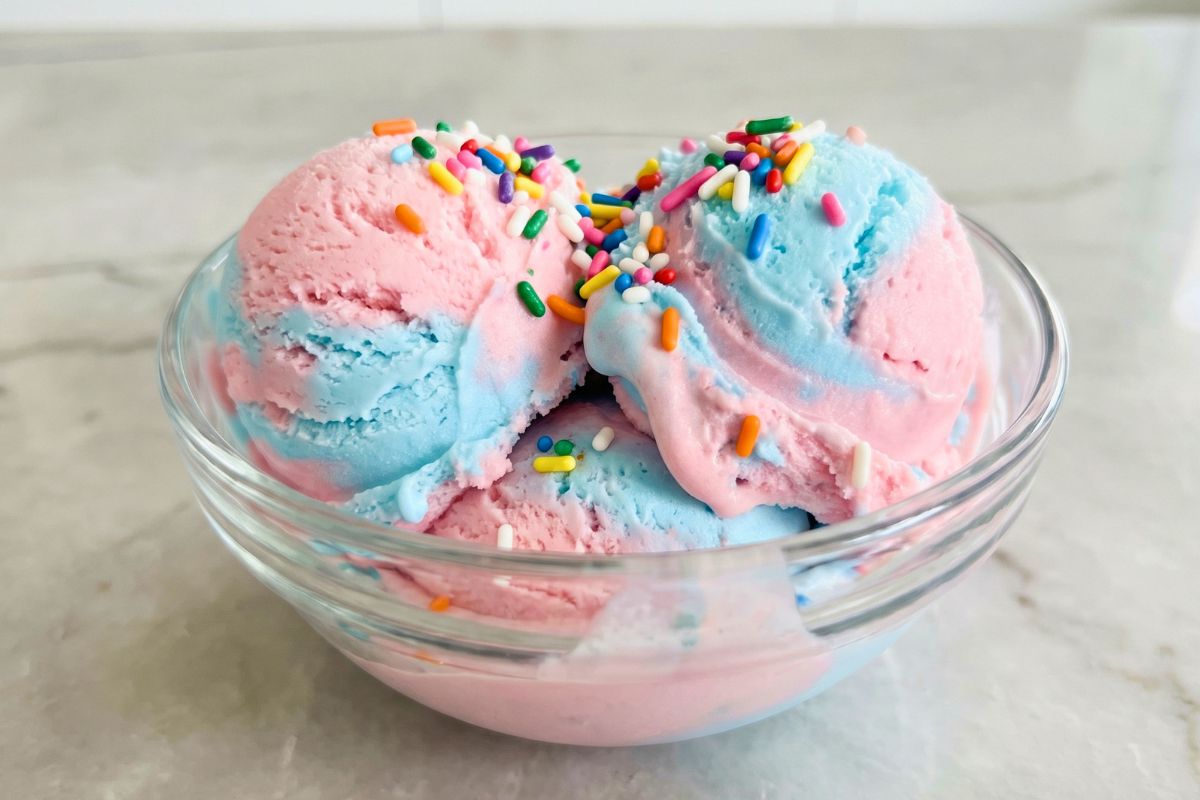
If you love fun desserts, you will enjoy this Ninja Creami Cotton Candy Ice Cream Recipe. It is colorful, creamy and full of sweet flavor.
This Ninja Creami Cotton Candy Ice Cream Recipe is easy to make at home. You only need a few simple ingredients.
Many people search for How to make Ninja Creami Cotton Candy Ice Cream and this guide will help you. The taste is just like a carnival treat. Let’s start making this delicious dessert today.
My Experience With This Recipe
I tried this recipe on a hot summer day. I wanted something fun and different. The cotton candy flavor made me feel like a kid again.
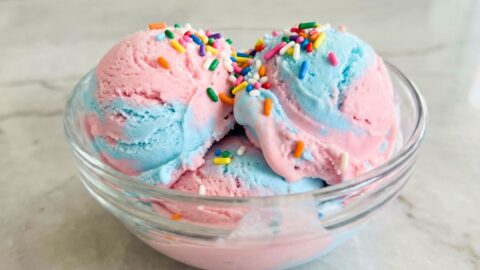
The Ninja Creami machine made the texture smooth and creamy. I was surprised how easy it was. My family loved the bright color and sweet taste.
Kids especially enjoyed it a lot. I also liked that I could control the ingredients. It felt better than store-bought ice cream. Now, I make it often for parties and special days.
Recipe Card Info
- Recipe Name: Ninja Creami Cotton Candy Ice Cream
- Servings: 4 servings
- Prep Time: 10 minutes
- Cook Time: 0 minutes
- Total Time: 24 hours (including freezing time)
- Course: Dessert
- Cuisine: American
- Calories: 220 kcal per serving
Equipment List
- Ninja Creami machine
- Mixing bowl
- Whisk
- Measuring cups
- Measuring spoons
- Freezer-safe container
- Spoon or spatula
Ingredients You Need for Ninja Creami Cotton Candy Ice Cream
- 2 cups heavy cream
- 1 cup whole milk
- ¾ cup sugar
- 1 teaspoon cotton candy flavoring
- ½ teaspoon vanilla extract
- Pink and blue food coloring (a few drops)
- 2 tablespoons sweetened condensed milk (optional for extra creaminess)
Instructions
1. Mix the Base
Take a mixing bowl and add heavy cream, milk and sugar. Whisk everything well until the sugar fully dissolves. This creates a smooth and creamy base for your ice cream.
2. Add Flavor
Pour in the cotton candy flavoring and vanilla extract. Mix again gently. This step gives the ice cream its sweet carnival taste that everyone loves.
3. Add Color
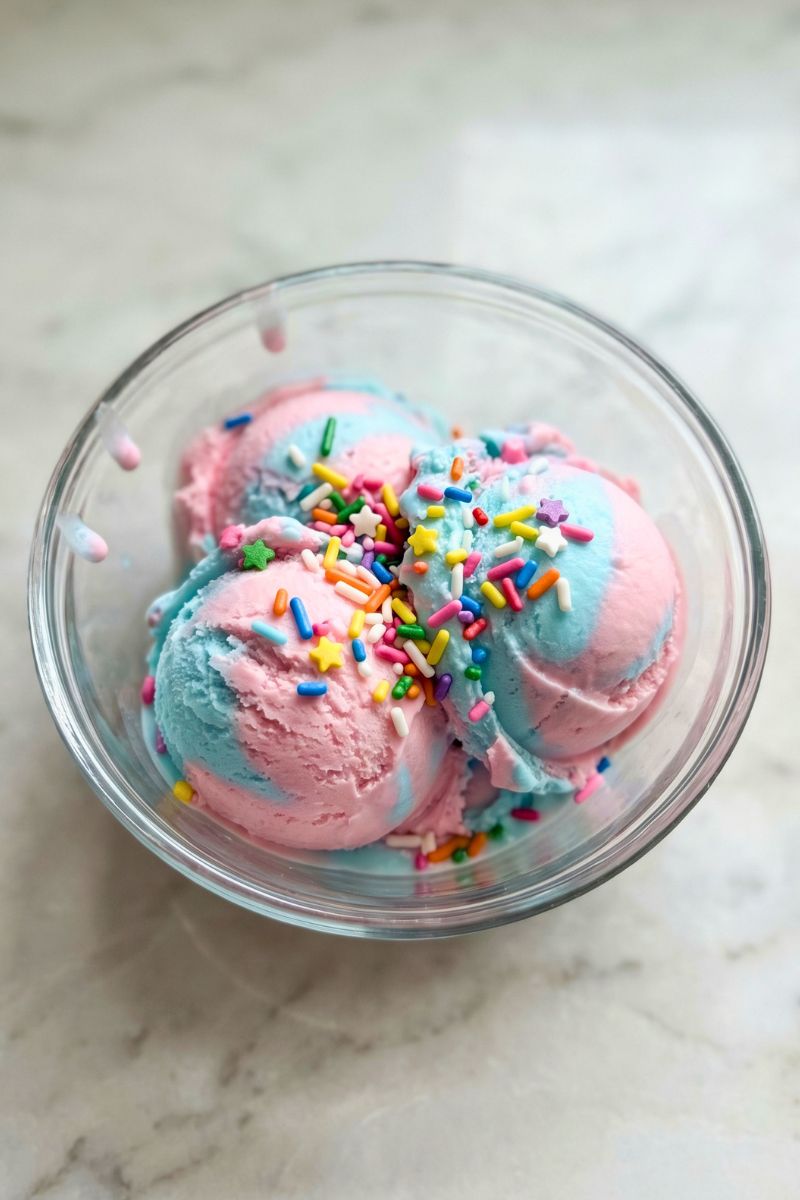
Divide the mixture into two small bowls. Add pink color to one and blue to the other. Mix lightly. Do not overmix if you want a fun swirl effect.
4. Combine and Freeze
Pour both colored mixtures into one freezer-safe container. Swirl gently with a spoon. Cover and freeze flat for at least 12–24 hours until completely solid.
5. Process in Ninja Creami
Remove the frozen base and place it in the Ninja Creami machine. Select the “Ice Cream” function. Let the machine do its job until the texture becomes creamy.
6. Re-spin if Needed
If the texture looks crumbly, use the re-spin function. This step makes the ice cream extra smooth and soft like store-bought ice cream.
7. Serve and Enjoy
Scoop the ice cream into bowls. Serve immediately for the best texture. You can also add toppings like sprinkles for extra fun.
Recipe Tips
- Always freeze the base completely before using the machine.
- Use good quality flavoring for better taste.
- Do not skip the re-spin step if texture is dry.
- Add condensed milk for extra creamy texture.
- Keep colors light for a soft pastel look.
- Avoid adding too much food coloring.
Nutrition Information
| Nutrient | Amount per Serving |
|---|---|
| Calories | 220 kcal |
| Fat | 14 g |
| Carbohydrates | 20 g |
| Sugar | 18 g |
| Protein | 3 g |
Serving Suggestions
This ice cream tastes best when served fresh and creamy. You can serve it in a bowl or cone. Add colorful sprinkles for a fun look. It is perfect for birthday parties or summer days.
You can also pair it with waffles or pancakes for a sweet treat. Kids love the bright colors and soft texture. It also works well as a dessert after dinner.
Best Sides To Serve With
You can serve this ice cream with simple and tasty sides. Try sugar cookies or shortbread biscuits. Brownies also go very well with this sweet flavor.
Fresh fruits like strawberries add a nice balance. You can also serve it with mini cupcakes. These sides make your dessert table more fun and complete.
Storage and Reheating Tips
Store leftover ice cream in the same container. Keep it tightly covered in the freezer. It stays fresh for up to one week. When ready to eat, process it again in the Ninja Creami. This will bring back the creamy texture.
Do not leave it outside for too long. It may melt quickly. Always refreeze after use. Avoid reheating, as ice cream should stay frozen.
Ninja Creami Cotton Candy Ice Cream Recipe
Ingredients
- 2 cups heavy cream
- 1 cup whole milk
- ¾ cup sugar
- 1 teaspoon cotton candy flavoring
- ½ teaspoon vanilla extract
- Pink and blue food coloring a few drops
- 2 tablespoons sweetened condensed milk optional for extra creaminess
Instructions
Mix the Base
- Take a mixing bowl and add heavy cream, milk and sugar. Whisk everything well until the sugar fully dissolves. This creates a smooth and creamy base for your ice cream.
Add Flavor
- Pour in the cotton candy flavoring and vanilla extract. Mix again gently. This step gives the ice cream its sweet carnival taste that everyone loves.
Add Color
- Divide the mixture into two small bowls. Add pink color to one and blue to the other. Mix lightly. Do not overmix if you want a fun swirl effect.
Combine and Freeze
- Pour both colored mixtures into one freezer-safe container. Swirl gently with a spoon. Cover and freeze flat for at least 12–24 hours until completely solid.
Process in Ninja Creami
- Remove the frozen base and place it in the Ninja Creami machine. Select the “Ice Cream” function. Let the machine do its job until the texture becomes creamy.
Re-spin if Needed
- If the texture looks crumbly, use the re-spin function. This step makes the ice cream extra smooth and soft like store-bought ice cream.
Serve and Enjoy
- Scoop the ice cream into bowls. Serve immediately for the best texture. You can also add toppings like sprinkles for extra fun.
Notes
- Always freeze the base completely before using the machine.
- Use good quality flavoring for better taste.
- Do not skip the re-spin step if texture is dry.
- Add condensed milk for extra creamy texture.
- Keep colors light for a soft pastel look.
- Avoid adding too much food coloring.
FAQs about Ninja Creami Cotton Candy Ice Cream Recipe
1. Can I make this without a Ninja Creami?
Yes, but the texture will be different. The Ninja Creami makes it extra creamy. Without it, you may need to churn or stir often while freezing.
2. What flavoring should I use?
Use cotton candy flavoring made for baking. It gives the best taste. Avoid artificial syrups that may taste too strong or fake.
3. Can I use low-fat milk?
Yes, but the texture will be less creamy. Full-fat milk and cream give the best results. Low-fat options may make it icy.
4. How to make Ninja Creami Cotton Candy Ice Cream more creamy?
Add condensed milk or more cream. Also, use the re-spin function. These steps help improve the texture and make it smoother.
5. Can I add toppings inside the ice cream?
Yes, you can mix in sprinkles or candy pieces. Add them after the first spin. Use the mix-in function for best results.
Conclusion
This Ninja Creami Cotton Candy Ice Cream Recipe is fun, easy and delicious. It brings a sweet carnival flavor to your home. The steps are simple and beginner-friendly.
You now know How to make Ninja Creami Cotton Candy Ice Cream with ease. The Ingredients for Ninja Creami Cotton Candy Ice Cream are also very simple.
Try this recipe for your next dessert. Your family and friends will love it. Enjoy every creamy and colorful bite!
Sara Collins is a food blogger at TastyDive. She shares simple and family-friendly recipes made with everyday ingredients. Her mission is to help home cooks enjoy tasty meals without stress.