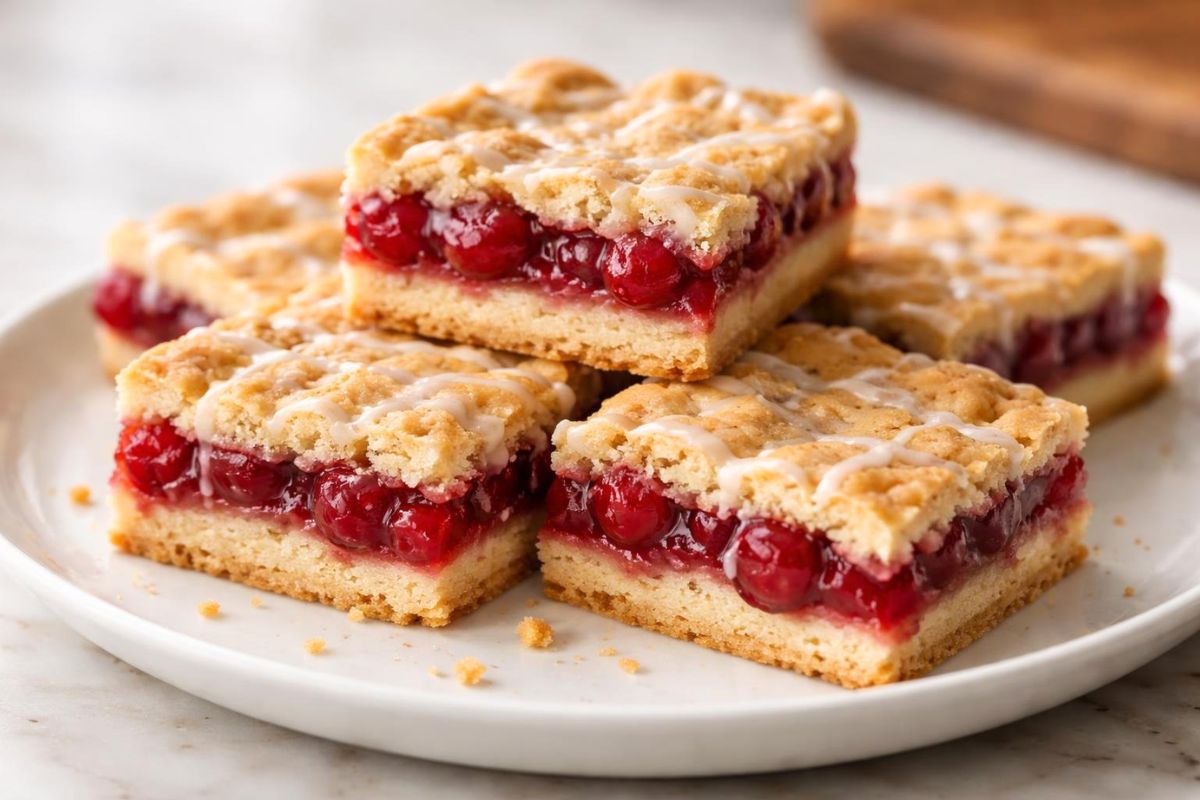
If you love fruity desserts, this Pioneer Woman Cherry Pie Cookie Bars Recipe is perfect for you. It is sweet, soft and full of cherry flavor.
This Pioneer Woman Cherry Pie Cookie Bars Recipe is great for parties and family treats. The buttery cookie base and cherry filling taste amazing together.
Many people enjoy this Pioneer Woman Cherry Pie Cookie Bars Recipe because it is easy and fun. Let’s learn how to make Pioneer Woman Cherry Pie Cookie Bars at home.
My Experience With This Recipe
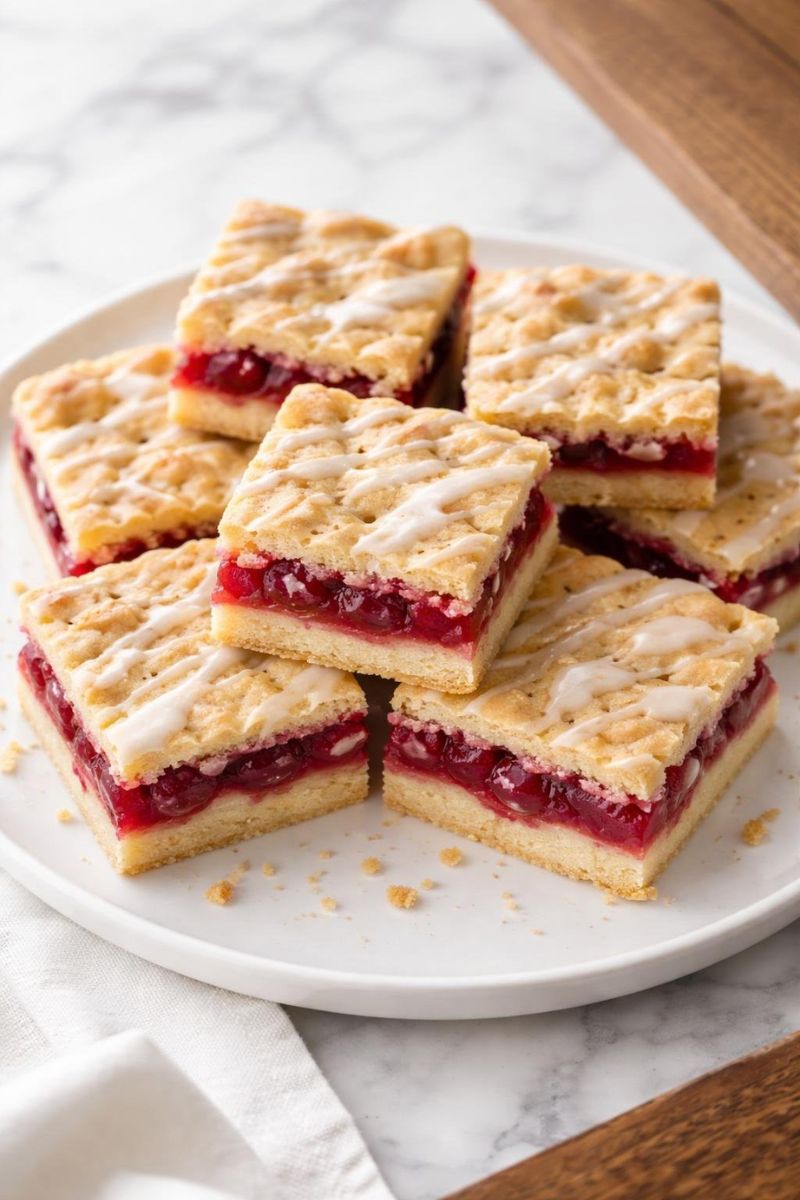
I made these bars for a small gathering. They turned out beautiful and tasty. The texture was soft and chewy.
The cherry layer added a sweet and tangy flavor. Everyone asked for the recipe.
I liked how simple it was to prepare. It did not take much effort. Now, I bake these bars often. They are always a big hit at home.
Recipe Card Info
- Recipe Name: Pioneer Woman Cherry Pie Cookie Bars
- Servings: 12
- Prep Time: 15 mins
- Cook Time: 30 mins
- Total Time: 45 mins
- Course: Dessert
- Cuisine: American
- Calories: 280 kcal per serving
Equipment List
- Mixing bowls
- Electric mixer or whisk
- Measuring cups and spoons
- 9×13 inch baking pan
- Spatula
- Parchment paper
- Knife for cutting bars
Ingredients You Need for Pioneer Woman Cherry Pie Cookie Bars
- 1 cup unsalted butter, softened
- 1½ cups sugar
- 2 large eggs
- 1 teaspoon vanilla extract
- 2½ cups all-purpose flour
- ½ teaspoon salt
- 1 teaspoon baking powder
- 1 can (21 oz) cherry pie filling
- ½ cup powdered sugar (for glaze)
- 1–2 tablespoons milk (for glaze)
Instructions
1. Prepare the Oven and Pan
Preheat your oven to 180°C (350°F). Line a 9×13 inch baking pan with parchment paper. This helps prevent sticking and makes it easy to remove bars later.
2. Cream Butter and Sugar
In a large bowl, add softened butter and sugar. Mix until light and fluffy. This step is important for a soft texture. Use an electric mixer for best results.
3. Add Eggs and Vanilla
Add eggs one at a time into the mixture. Mix well after each addition. Pour in vanilla extract. Stir until everything is smooth and well combined.
4. Mix Dry Ingredients
In another bowl, combine flour, baking powder and salt. Mix well. Slowly add this dry mixture into the wet mixture. Stir until a soft dough forms.
5. Create the Base Layer
Take about two-thirds of the dough. Spread it evenly in the prepared pan. Press gently with a spatula to make a smooth and even layer.
6. Add Cherry Filling
Spread the cherry pie filling evenly over the dough layer. Make sure it covers the entire surface. This creates a rich and fruity center.
7. Add Top Dough Layer
Take the remaining dough and drop small spoonfuls over the cherry layer. Do not cover completely. Leave some gaps for a nice look after baking.
8. Bake and Cool
Place the pan in the oven. Bake for 30 minutes until the top is golden. Let it cool completely. Mix powdered sugar and milk to make glaze. Drizzle and cut into bars.
Recipe Tips
- Use room temperature butter for easy mixing.
- Do not overmix the dough to keep it soft.
- Use high-quality cherry filling for best flavor.
- Let the bars cool before cutting for clean slices.
- Add almond extract for a deeper flavor twist.
Nutrition Information
| Nutrient | Amount per Serving |
|---|---|
| Calories | 280 kcal |
| Carbohydrates | 40 g |
| Protein | 3 g |
| Fat | 12 g |
| Sugar | 25 g |
| Fiber | 1 g |
Serving Suggestions
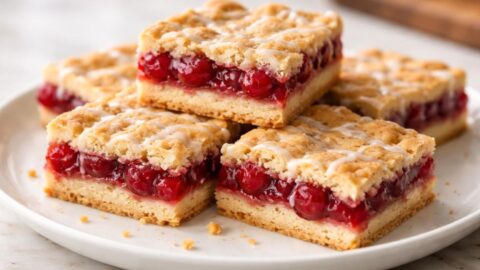
These cherry pie cookie bars taste best when fully cooled. You can serve them as a dessert or snack. Add a scoop of vanilla ice cream on the side for extra sweetness.
A light drizzle of glaze makes them look beautiful. They are perfect for parties, picnics or tea time. The soft texture and fruity flavor make them very enjoyable. Everyone will love this simple treat.
Best Sides To Serve With
These bars pair well with many simple options. Serve them with hot coffee or tea. A glass of cold milk also works great.
You can enjoy them with fresh fruit on the side. Whipped cream is another tasty addition. These small sides make the dessert even better.
Storage and Reheating Tips
Store the bars in an airtight container at room temperature. They stay fresh for up to 3 days. You can also refrigerate them for up to 5 days.
Let them come to room temperature before serving. You do not need to reheat them. If you like, warm slightly in the microwave for a few seconds.
Pioneer Woman Cherry Pie Cookie Bars Recipe
Ingredients
- 1 cup unsalted butter softened
- 1½ cups sugar
- 2 large eggs
- 1 teaspoon vanilla extract
- 2½ cups all-purpose flour
- ½ teaspoon salt
- 1 teaspoon baking powder
- 1 can 21 oz cherry pie filling
- ½ cup powdered sugar for glaze
- 1 –2 tablespoons milk for glaze
Instructions
Prepare the Oven and Pan
- Preheat your oven to 180°C (350°F). Line a 9×13 inch baking pan with parchment paper. This helps prevent sticking and makes it easy to remove bars later.
Cream Butter and Sugar
- In a large bowl, add softened butter and sugar. Mix until light and fluffy. This step is important for a soft texture. Use an electric mixer for best results.
Add Eggs and Vanilla
- Add eggs one at a time into the mixture. Mix well after each addition. Pour in vanilla extract. Stir until everything is smooth and well combined.
Mix Dry Ingredients
- In another bowl, combine flour, baking powder and salt. Mix well. Slowly add this dry mixture into the wet mixture. Stir until a soft dough forms.
Create the Base Layer
- Take about two-thirds of the dough. Spread it evenly in the prepared pan. Press gently with a spatula to make a smooth and even layer.
Add Cherry Filling
- Spread the cherry pie filling evenly over the dough layer. Make sure it covers the entire surface. This creates a rich and fruity center.
Add Top Dough Layer
- Take the remaining dough and drop small spoonfuls over the cherry layer. Do not cover completely. Leave some gaps for a nice look after baking.
Bake and Cool
- Place the pan in the oven. Bake for 30 minutes until the top is golden. Let it cool completely. Mix powdered sugar and milk to make glaze. Drizzle and cut into bars.
Notes
- Use room temperature butter for easy mixing.
- Do not overmix the dough to keep it soft.
- Use high-quality cherry filling for best flavor.
- Let the bars cool before cutting for clean slices.
- Add almond extract for a deeper flavor twist.
FAQs about Pioneer Woman Cherry Pie Cookie Bars Recipe
1. Can I use fresh cherries instead of canned filling?
Yes, you can use fresh cherries. Cook them with sugar and a little cornstarch first. This creates a thick filling similar to canned pie filling.
2. How to make Pioneer Woman Cherry Pie Cookie Bars softer?
Do not overbake the bars. Remove them when the top is lightly golden. Also, measure flour correctly to avoid a dry texture.
3. Can I freeze these cookie bars?
Yes, you can freeze them. Wrap each bar tightly and store in a freezer-safe container. Thaw at room temperature before serving for best taste.
4. What other fillings can I use?
You can try blueberry, strawberry or apple filling. Each gives a different flavor. The base dough works well with many fruit fillings.
5. Why is my dough too sticky?
The dough may be sticky if butter is too soft. Chill it for a few minutes. This makes it easier to handle and spread in the pan.
Conclusion
This Pioneer Woman Cherry Pie Cookie Bars Recipe is sweet, simple and perfect for any occasion.
It combines a soft cookie base with a fruity cherry layer. If you want to learn how to make Pioneer Woman Cherry Pie Cookie Bars, this guide is easy to follow.
The ingredients for Pioneer Woman Cherry Pie Cookie Bars are simple and easy to find. Try this recipe today and enjoy a delicious homemade dessert with your family.
Sara Collins is a food blogger at TastyDive. She shares simple and family-friendly recipes made with everyday ingredients. Her mission is to help home cooks enjoy tasty meals without stress.