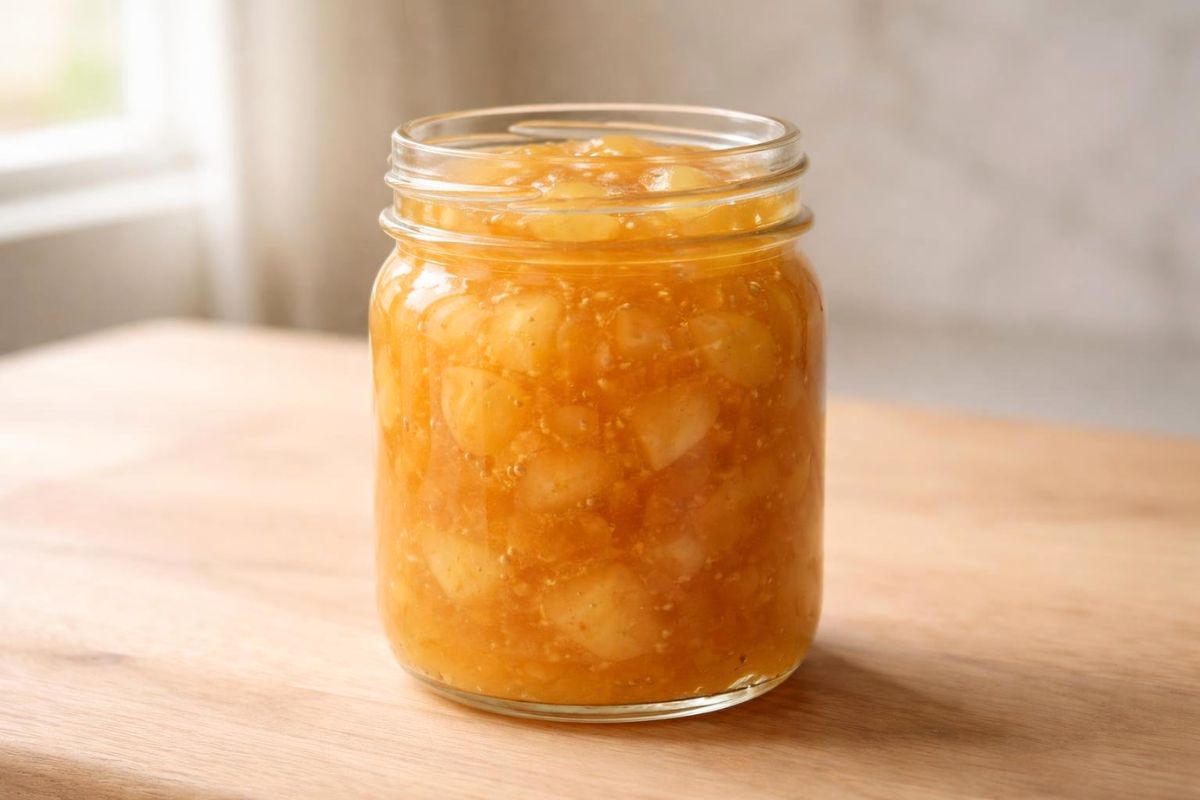
The Pioneer Woman Pear Preserves Recipe is sweet, simple and full of fruity flavor. These homemade preserves taste wonderful on toast, biscuits and pancakes.
The recipe uses fresh pears, sugar and lemon for a bright taste. Many people love the Pioneer Woman Pear Preserves Recipe because it feels homemade and comforting.
If you enjoy fruit spreads, this guide will show you How to make Pioneer Woman Pear Preserves Recipe step by step using easy ingredients.
My Experience With This Recipe
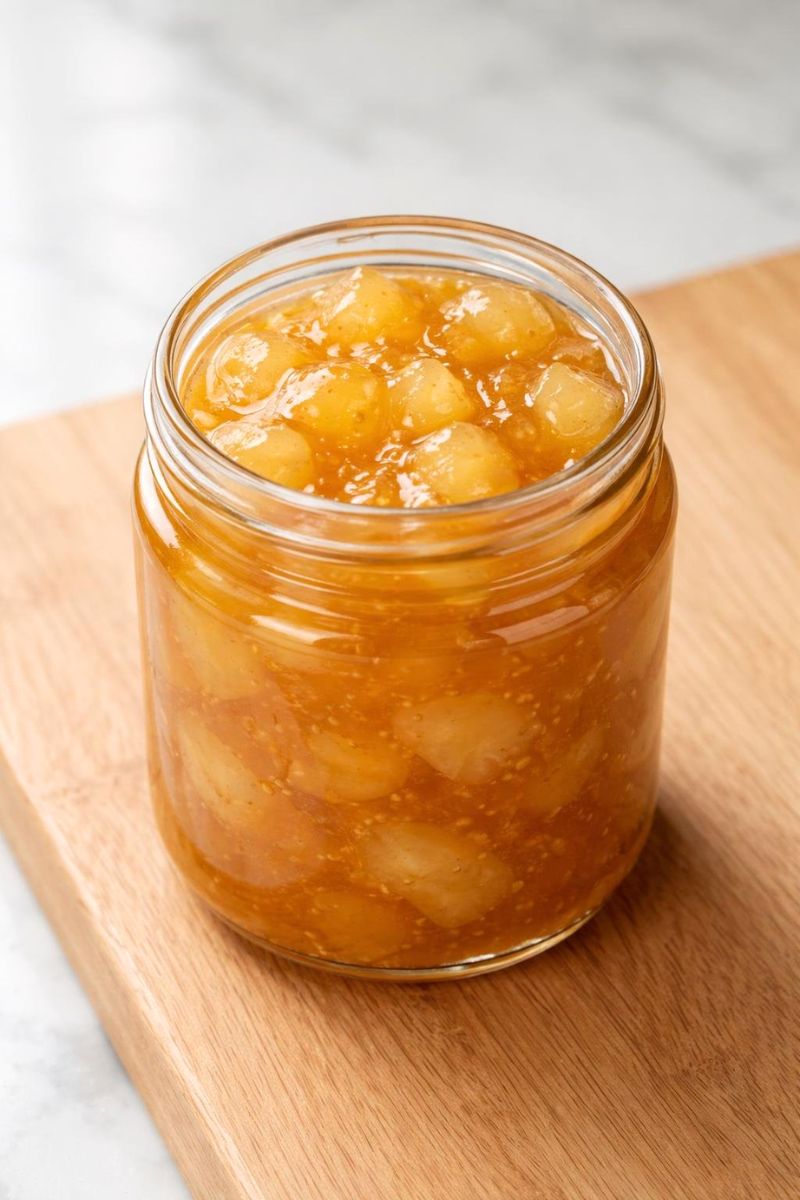
I first tried making pear preserves during pear season. I had many ripe pears at home. I did not want them to go to waste. The kitchen smelled amazing while the pears cooked slowly.
The sugar and fruit created a sweet aroma. When the preserves cooled, the texture was thick and glossy. The flavor tasted fresh and natural.
Now I make these preserves every year. They are perfect for breakfast and small gifts for friends.
Recipe Card info
- Recipe Name: Pioneer Woman Pear Preserves
- Servings: 6 jars
- Prep Time: 20 mins
- Cook Time: 45 mins
- Total Time: 1 hour 5 mins
- Course: Condiment
- Cuisine: American
- Calories: 120 kcal per serving
Equipment List
- Large cooking pot
- Wooden spoon
- Knife
- Cutting board
- Measuring cups
- Measuring spoons
- Potato masher (optional)
- Sterilized glass jars
- Jar lids
Ingredients You Need for Pioneer Woman Pear Preserves
- 6 cups fresh pears, peeled and diced
- 3 cups granulated sugar
- 2 tablespoons lemon juice
- ½ teaspoon ground cinnamon
- ¼ teaspoon ground nutmeg (optional)
- ½ teaspoon vanilla extract
- ½ cup water
Instructions
1. Prepare the Pears
Wash the pears well. Peel the skin and remove the cores. Dice the pears into small cubes. Smaller pieces cook faster and help create a smooth preserve texture.
2. Add Pears to the Pot
Place the chopped pears into a large cooking pot. Add water and place the pot over medium heat. Stir occasionally so the fruit does not stick.
3. Cook the Pears
Allow the pears to cook for about 10 minutes. The fruit will start to soften and release natural juices. Stir gently to keep the mixture from burning.
4. Add Sugar and Lemon Juice
Pour the sugar into the pot. Add lemon juice. Stir slowly until the sugar begins to dissolve. The mixture will become glossy and slightly syrupy.
5. Add Spices
Add cinnamon and nutmeg to the pot. Stir gently to spread the spices evenly. These spices give the preserves a warm and comforting flavor.
6. Simmer the Mixture
Reduce the heat to low. Let the mixture simmer for about 25 minutes. Stir occasionally so the pears cook evenly and the syrup thickens.
7. Mash the Pears
Use a potato masher to mash some of the pears. Leave a few small chunks for texture. This step helps create a nice thick preserve consistency.
8. Add Vanilla Extract
Stir in the vanilla extract near the end of cooking. This adds a soft sweetness and deeper flavor to the preserves.
9. Check the Thickness
Place a small spoonful on a cold plate. If it thickens slightly, the preserves are ready. If not, cook for five more minutes.
10. Fill the Jars
Carefully pour the hot preserves into sterilized jars. Leave a little space at the top. Seal with lids and allow the jars to cool completely.
Recipe Tips
- Use ripe pears for the best natural sweetness.
- Stir often to prevent the preserves from sticking.
- Add a little ginger for extra flavor.
- Do not rush the simmering process. Slow cooking improves texture.
- Sterilize jars before filling to keep preserves fresh longer.
Nutrition Information
| Nutrient | Amount per Serving |
|---|---|
| Calories | 120 kcal |
| Carbohydrates | 30 g |
| Sugar | 27 g |
| Fiber | 2 g |
| Fat | 0 g |
| Protein | 0 g |
Serving Suggestions
Pear preserves are very versatile and easy to enjoy. Spread them over warm toast for a sweet breakfast. They also taste great on buttery biscuits or pancakes.
Many people like adding them to yogurt or oatmeal for extra fruit flavor. You can even use pear preserves as a glaze for roasted meats or desserts. The sweet and fruity taste makes many dishes more delicious.
Best Sides To Serve With
These foods pair beautifully with the sweetness of pear preserves.
Storage and Reheating Tips
Store sealed jars of pear preserves in a cool and dark place. They can last up to six months if sealed properly. Once opened, keep the jar in the refrigerator. Use it within three weeks for the best flavor.
Always use a clean spoon when serving to prevent spoilage. Pear preserves do not need reheating. But you can warm a spoonful slightly to drizzle over desserts.
Pioneer Woman Pear Preserves Recipe
Ingredients
- 6 cups fresh pears peeled and diced
- 3 cups granulated sugar
- 2 tablespoons lemon juice
- ½ teaspoon ground cinnamon
- ¼ teaspoon ground nutmeg optional
- ½ teaspoon vanilla extract
- ½ cup water
Instructions
Prepare the Pears
- Wash the pears well. Peel the skin and remove the cores. Dice the pears into small cubes. Smaller pieces cook faster and help create a smooth preserve texture.
Add Pears to the Pot
- Place the chopped pears into a large cooking pot. Add water and place the pot over medium heat. Stir occasionally so the fruit does not stick.
Cook the Pears
- Allow the pears to cook for about 10 minutes. The fruit will start to soften and release natural juices. Stir gently to keep the mixture from burning.
Add Sugar and Lemon Juice
- Pour the sugar into the pot. Add lemon juice. Stir slowly until the sugar begins to dissolve. The mixture will become glossy and slightly syrupy.
Add Spices
- Add cinnamon and nutmeg to the pot. Stir gently to spread the spices evenly. These spices give the preserves a warm and comforting flavor.
Simmer the Mixture
- Reduce the heat to low. Let the mixture simmer for about 25 minutes. Stir occasionally so the pears cook evenly and the syrup thickens.
Mash the Pears
- Use a potato masher to mash some of the pears. Leave a few small chunks for texture. This step helps create a nice thick preserve consistency.
Add Vanilla Extract
- Stir in the vanilla extract near the end of cooking. This adds a soft sweetness and deeper flavor to the preserves.
Check the Thickness
- Place a small spoonful on a cold plate. If it thickens slightly, the preserves are ready. If not, cook for five more minutes.
Fill the Jars
- Carefully pour the hot preserves into sterilized jars. Leave a little space at the top. Seal with lids and allow the jars to cool completely.
Notes
- Use ripe pears for the best natural sweetness.
- Stir often to prevent the preserves from sticking.
- Add a little ginger for extra flavor.
- Do not rush the simmering process. Slow cooking improves texture.
- Sterilize jars before filling to keep preserves fresh longer.
Read More: Pioneer Woman Peach Jam Recipe
FAQs about Pioneer Woman Pear Preserves Recipe
1. Can I use canned pears instead of fresh pears?
Yes, you can use canned pears if fresh pears are unavailable. Drain them well before cooking. The texture may be softer, but the preserves will still taste sweet and delicious.
2. How do I know when the preserves are thick enough?
The mixture becomes thicker as it cooks. You can test it by placing a small spoonful on a cold plate. If it holds shape and looks glossy, it is ready.
3. Can I reduce the sugar in this recipe?
Yes, but reducing sugar can change the texture and shelf life. Sugar helps preserve the fruit and create the thick syrupy consistency.
4. What type of pears work best for this recipe?
Bartlett or Anjou pears work very well. These varieties become soft and sweet when cooked, making them perfect for preserves.
5. Can I add other fruits to the preserves?
Yes, you can mix pears with apples or peaches. This creates a unique flavor combination while still keeping the sweet preserve texture.
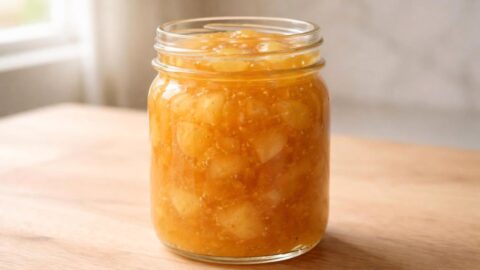
Conclusion
The Pioneer Woman Pear Preserves Recipe is a simple way to enjoy fresh fruit all year. It uses easy ingredients and basic cooking steps.
The sweet flavor and smooth texture make it perfect for breakfast or snacks. Homemade preserves always taste more natural and fresh.
Now you know How to make Pioneer Woman Pear Preserves Recipe easily at home. Gather the Ingredients for Pioneer Woman Pear Preserves and enjoy making this classic fruit spread in your kitchen.
Sara Collins is a food blogger at TastyDive. She shares simple and family-friendly recipes made with everyday ingredients. Her mission is to help home cooks enjoy tasty meals without stress.