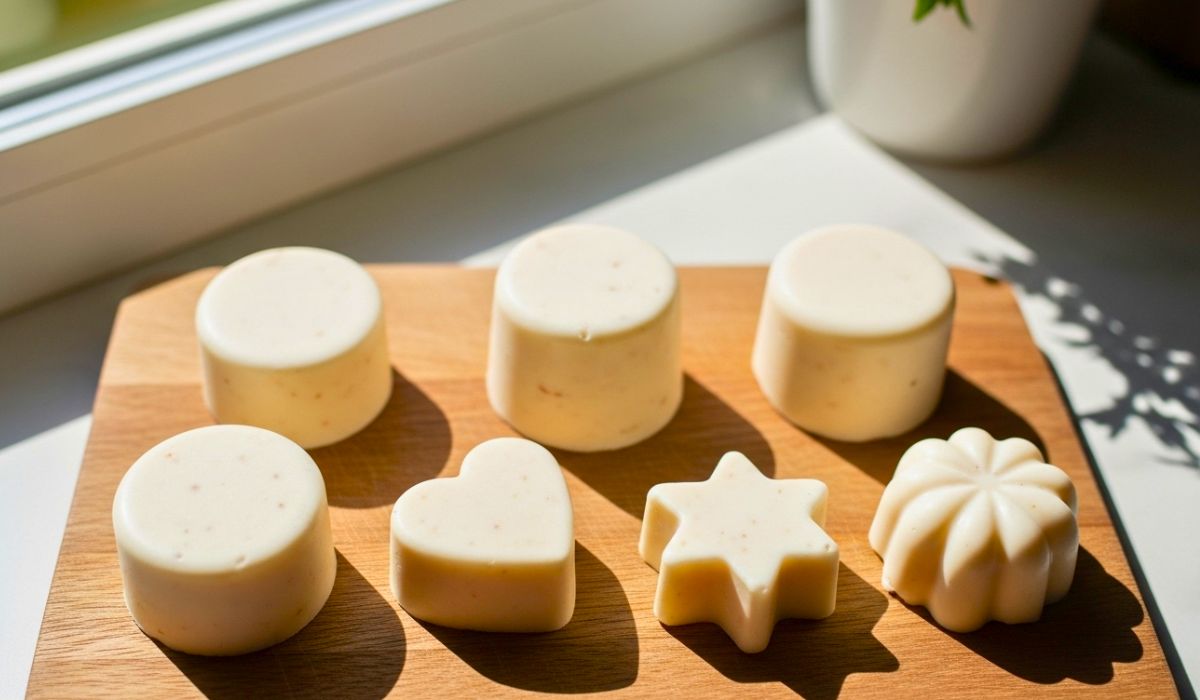
Do you want soft and smooth skin without buying expensive products? This 3 Ingredients DIY Lotion Bars Recipe is perfect for you. It is easy, fast and uses simple ingredients you probably already have at home.
Learning how to make 3 Ingredients DIY Lotion Bars is fun and satisfying. You can customize the scent or shape, making it a great gift too. These lotion bars are natural and safe, so no harsh chemicals are needed.
If you want a quick, nourishing and handmade skin treat, this recipe is exactly what you need. Let’s dive in and see the magic of these lotion bars.
My Experience With This Recipe
I tried this recipe last weekend, and it was amazing. The ingredients were simple: beeswax, coconut oil and shea butter. The bars melted perfectly in my hands and left my skin soft and smooth.
I also added a few drops of my favorite essential oil and the smell was incredible. Making these bars felt relaxing and creative. I also loved that I could store them and use them whenever my skin felt dry. This recipe is quick, easy and makes skin care enjoyable. I now keep a few bars in my bag for on-the-go hydration.
Recipe Card info
- Recipe Name: 3 Ingredients DIY Lotion Bars
- Servings: 6 bars
- Prep Time: 5 mins
- Cook Time: 10 mins
- Total Time: 15 mins
- Course: Skin Care / DIY Beauty
- Cuisine: Homemade / Natural
- Calories: Not applicable
Equipment List
- Double boiler or small saucepan
- Mixing spoon
- Silicone molds or ice cube tray
- Measuring cups
- Small bowl
Ingredients You Need for 3 Ingredients DIY Lotion Bars
- 1/2 cup beeswax pellets
- 1/2 cup coconut oil
- 1/2 cup shea butter
- Optional: 10–15 drops essential oil (lavender, rose, or peppermint)
Instructions
- Melt the Beeswax
Place beeswax in a double boiler. Heat slowly until fully melted. Stir occasionally. - Add Coconut Oil
Add coconut oil to melted beeswax. Mix well until completely combined. - Add Shea Butter
Stir shea butter into the mixture. Keep stirring until smooth and melted. - Add Essential Oil
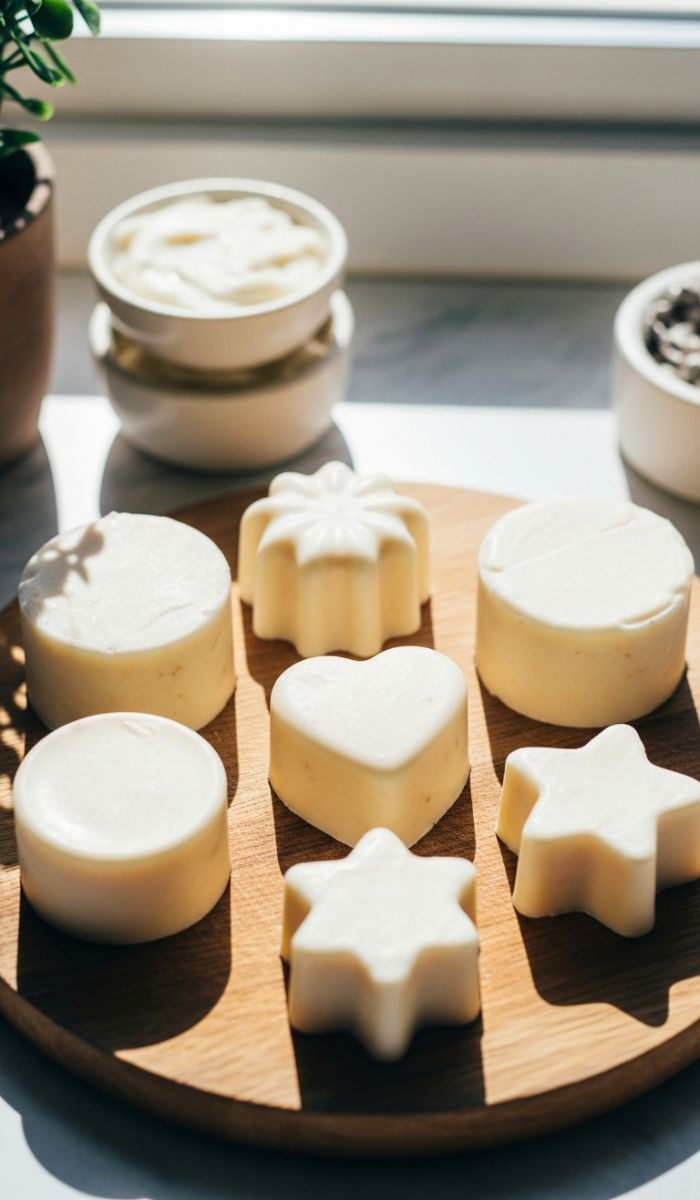
Remove from heat. Add essential oil drops. Stir gently to mix the fragrance. - Pour Into Molds
Carefully pour the mixture into silicone molds. Use a spoon to spread evenly. - Cool and Set
Let the bars cool at room temperature for 1–2 hours. Or refrigerate for 30 minutes. - Remove from Molds
Gently pop bars out of molds. Store them in a clean, dry container.
Recipe Tips
- Always use a double boiler to prevent burning the mixture.
- Coconut oil makes the bars soft; adjust for firmer or softer texture.
- Customize with your favorite essential oils.
- Store bars in a cool, dry place to prevent melting.
- Use silicone molds for easy removal of bars.
Nutrition Information
| Ingredient | Amount | Benefit |
|---|---|---|
| Beeswax | 1/2 cup | Protects and moisturizes skin |
| Coconut Oil | 1/2 cup | Nourishes and softens skin |
| Shea Butter | 1/2 cup | Hydrates and soothes skin |
Serving Suggestions
Use your lotion bars after showers or hand washing. Rub the bar directly on dry skin. The warmth of your hands will melt the bar slightly, allowing easy absorption. These bars are excellent for elbows, knees, lips and hands. They make your skin soft and smell wonderful.
Best Sides To Serve With
While lotion bars are mostly standalone, you can enhance the experience by:
- Pairing with homemade bath salts.
- Using with a gentle scrub for smooth skin.
- Adding a relaxing candle for spa-like ambiance.
Storage and Reheating Tips
Store bars in a cool, dry place to prevent melting. Avoid direct sunlight or hot areas. If the bar gets too hard, hold it in your hands for a few seconds. The warmth will soften it, making it easy to apply. You can also store bars in small jars during summer to prevent mess.
3 Ingredients DIY Lotion Bars Recipe
Ingredients
- 1/2 cup beeswax pellets
- 1/2 cup coconut oil
- 1/2 cup shea butter
- Optional: 10–15 drops essential oil lavender, rose, or peppermint
Instructions
Melt the Beeswax
- Place beeswax in a double boiler. Heat slowly until fully melted. Stir occasionally.
Add Coconut Oil
- Add coconut oil to melted beeswax. Mix well until completely combined.
Add Shea Butter
- Stir shea butter into the mixture. Keep stirring until smooth and melted.
Add Essential Oil
- Remove from heat. Add essential oil drops. Stir gently to mix the fragrance.
Pour Into Molds
- Carefully pour the mixture into silicone molds. Use a spoon to spread evenly.
Cool and Set
- Let the bars cool at room temperature for 1–2 hours. Or refrigerate for 30 minutes.
Remove from Molds
- Gently pop bars out of molds. Store them in a clean, dry container.
Notes
- Always use a double boiler to prevent burning the mixture.
- Coconut oil makes the bars soft; adjust for firmer or softer texture.
- Customize with your favorite essential oils.
- Store bars in a cool, dry place to prevent melting.
- Use silicone molds for easy removal of bars.
FAQs about 3 Ingredients DIY Lotion Bars
Q1: Can I use other oils instead of coconut oil?
Yes, you can use almond, jojoba or olive oil. Coconut oil works best for solid bars.
Q2: How long will these lotion bars last?
They can last 6–12 months if stored in a cool, dry place. Avoid heat exposure.
Q3: Can I make larger batches at once?
Yes, you can double or triple the recipe. Just ensure you have a large enough double boiler.
Q4: Are these safe for children?
Yes, these bars are natural and safe for kids. Avoid essential oils for babies.
Q5: Can I melt the bars again if needed?
Yes, gently melt them in a double boiler and pour into molds again.
Conclusion
This 3 Ingredients DIY Lotion Bars Recipe is simple, natural, and fun to make. Learning how to make 3 Ingredients DIY Lotion Bars takes only 15 minutes. You only need three basic ingredients to get soft, healthy and hydrated skin.
These lotion bars are perfect for gifts, travel or personal use. With a few simple tips, you can customize scent, size and firmness. Try this recipe today and enjoy homemade skincare that is gentle and nourishing.
Sara Collins is a food blogger at TastyDive. She shares simple and family-friendly recipes made with everyday ingredients. Her mission is to help home cooks enjoy tasty meals without stress.