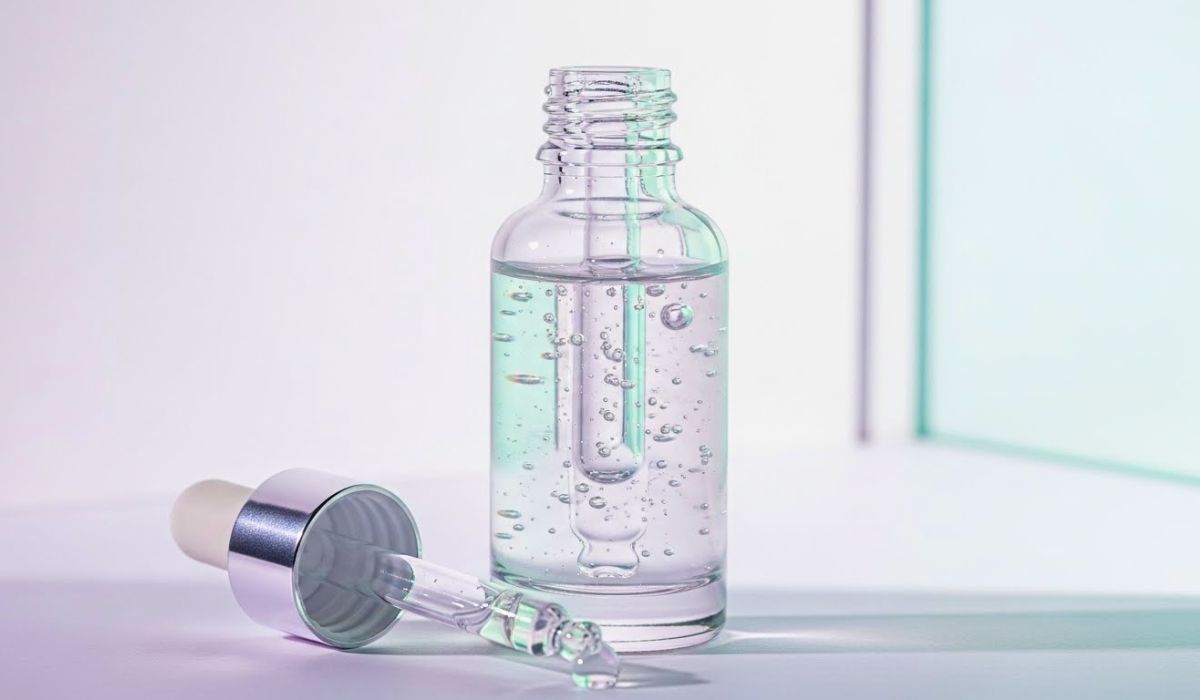
This DIY Hyaluronic Acid and Vitamin C Serum Recipe is easy and very helpful for skin. It makes your skin look fresh and bright. Many people love this serum because it feels light and smooth.
You can make it at home with simple ingredients. This DIY Hyaluronic Acid and Vitamin C Serum Recipe helps add moisture and glow to the skin. It is great for dry, dull and tired skin.
You control the ingredients, so you know what goes on your face. If you want soft and bright skin, try this DIY Hyaluronic Acid and Vitamin C Serum Recipe today.
My Experience With This DIY Hyaluronic Acid and Vitamin C Serum
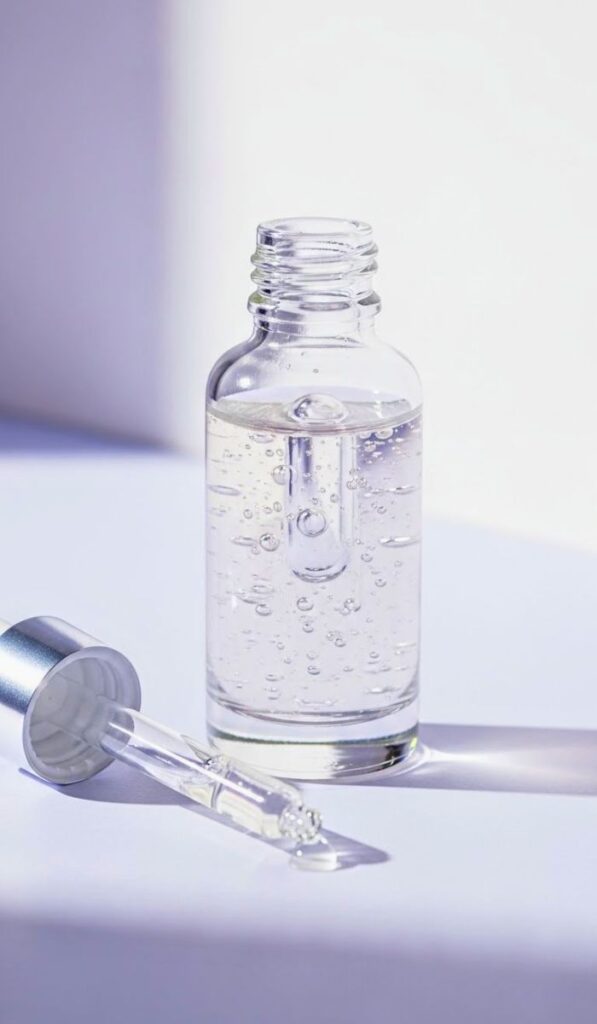
I love making this serum at home. It feels gentle and cool on my skin. I use it every night before bed. My skin looks fresh in the morning. I like how fast it absorbs. It does not feel sticky.
The brightening effect is also amazing. I enjoy mixing the ingredients and watching them blend. It feels like a small skincare lab at home. It is simple, safe and fun.
Recipe Card Info
- Recipe Name: DIY Hyaluronic Acid and Vitamin C Serum
- Servings: 1 small bottle
- Prep Time: 10 mins
- Cook Time: 0 mins
- Total Time: 10 mins
- Course: Skincare
- Cuisine: DIY Beauty
- Calories: Not for eating
Equipment List
- Small glass dropper bottle
- Small bowl
- Tiny whisk or spoon
- Measuring spoons
- Funnel
- Dark glass bottle (optional)
Ingredients You Need for DIY Hyaluronic Acid and Vitamin C Serum
- 1 teaspoon hyaluronic acid powder
- ½ cup distilled water
- 1 teaspoon vitamin C powder (L-ascorbic acid)
- 1 teaspoon glycerin
- 3–4 drops vitamin E oil
- 2–3 drops essential oil (optional)
Instructions
- Mix Hyaluronic Acid
Add hyaluronic acid powder to distilled water. Stir well until powder dissolves slowly. - Let Gel Form
Place the mix in the fridge for one hour. Let it become a soft gel. - Add Vitamin C
Add vitamin C powder to the gel. Stir well until fully combined. - Add Glycerin
Pour in glycerin. Mix gently. It helps the serum feel smooth on skin. - Add Vitamin E Oil
Add vitamin E oil to protect the serum. Stir until it blends fully. - Add Essential Oil
Add 2–3 drops essential oil for a light scent. This step is optional. - Mix Again
Whisk the serum for one minute. Make sure everything is smooth and even. - Fill the Bottle
Use a funnel to pour the serum into a dropper bottle. Fill slowly to avoid bubbles. - Store in Cool Place
Keep the bottle in a cool and dark place. This helps protect vitamin C. - Apply on Skin
Use 2–3 drops on clean skin. Massage gently until fully absorbed.
Recipe Tips
- Use distilled water only. Tap water can affect the serum quality.
- Store the serum in a dark bottle to protect the vitamin C.
- Make small batches because vitamin C loses strength fast.
- Keep the serum in the fridge for best freshness.
- Always do a small patch test before using on the face.
Nutrition Information
| Item | Amount |
|---|---|
| Calories | Not for eating |
| Fat | 0 |
| Sugar | 0 |
| Preservatives | None |
Serving Suggestions
Use this serum on clean skin before your moisturizer. It works best at night when the skin rests. You can also use it in the morning for extra glow. Apply sunscreen after using it during the day. Use only a small amount because it spreads easily.
Best Sides to Serve With
This is a skincare recipe, not a food recipe, but you can pair it with other DIY beauty items. Try making a hydrating face mist, a gentle toner or a soothing night cream. All these match well and make a full skincare routine that feels relaxing and refreshing.
Storage and Reheating Tips
Store the serum in the fridge for best results. Vitamin C breaks down in heat and light. Keep the bottle closed tightly.
If the serum becomes cloudy or changes smell, make a new batch. Do not reheat it because heat can damage the ingredients. Always store in a dark bottle if possible.
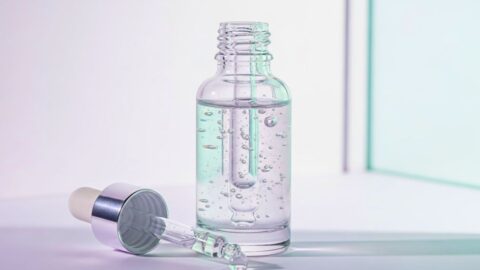
DIY Hyaluronic Acid and Vitamin C Serum Recipe
Ingredients
- 1 teaspoon hyaluronic acid powder
- ½ cup distilled water
- 1 teaspoon vitamin C powder L-ascorbic acid
- 1 teaspoon glycerin
- 3 –4 drops vitamin E oil
- 2 –3 drops essential oil optional
Instructions
Mix Hyaluronic Acid
- Add hyaluronic acid powder to distilled water. Stir well until powder dissolves slowly.
Let Gel Form
- Place the mix in the fridge for one hour. Let it become a soft gel.
Add Vitamin C
- Add vitamin C powder to the gel. Stir well until fully combined.
Add Glycerin
- Pour in glycerin. Mix gently. It helps the serum feel smooth on skin.
Add Vitamin E Oil
- Add vitamin E oil to protect the serum. Stir until it blends fully.
Add Essential Oil
- Add 2–3 drops essential oil for a light scent. This step is optional.
Mix Again
- Whisk the serum for one minute. Make sure everything is smooth and even.
Fill the Bottle
- Use a funnel to pour the serum into a dropper bottle. Fill slowly to avoid bubbles.
Store in Cool Place
- Keep the bottle in a cool and dark place. This helps protect vitamin C.
Apply on Skin
- Use 2–3 drops on clean skin. Massage gently until fully absorbed.
Notes
- Use distilled water only. Tap water can affect the serum quality.
- Store the serum in a dark bottle to protect the vitamin C.
- Make small batches because vitamin C loses strength fast.
- Keep the serum in the fridge for best freshness.
- Always do a small patch test before using on the face.
FAQs about DIY Hyaluronic Acid and Vitamin C Serum Recipe
1. How long does this serum stay fresh?
This serum stays fresh for about two weeks if kept in the fridge. Vitamin C breaks down fast, so small batches are best. Always check the smell and color before use.
2. Can I use this serum every day?
Yes, you can use it once or twice a day. If you have sensitive skin, start with once a day. Watch how your skin reacts before increasing use.
3. Why is my serum gritty?
The vitamin C powder may not have dissolved fully. Stir longer next time or let the mix sit. It should become smooth after mixing well.
4. Can I skip glycerin in the recipe?
Yes, you can skip it, but the serum may feel less smooth. Glycerin adds softness and helps hold moisture on the skin for longer.
5. Is this safe for all skin types?
Most skin types can use it, but sensitive skin may react to vitamin C. Always do a patch test. Use a lower amount of vitamin C if needed.
Conclusion
This DIY Hyaluronic Acid and Vitamin C Serum Recipe is simple, gentle and very helpful for glowing skin. It hydrates deeply and brightens slowly with daily use.
You only need a few safe ingredients. Making it at home is fun, fast and affordable. Try this recipe and enjoy smooth, bright and fresh skin every day.
Sara Collins is a food blogger at TastyDive. She shares simple and family-friendly recipes made with everyday ingredients. Her mission is to help home cooks enjoy tasty meals without stress.