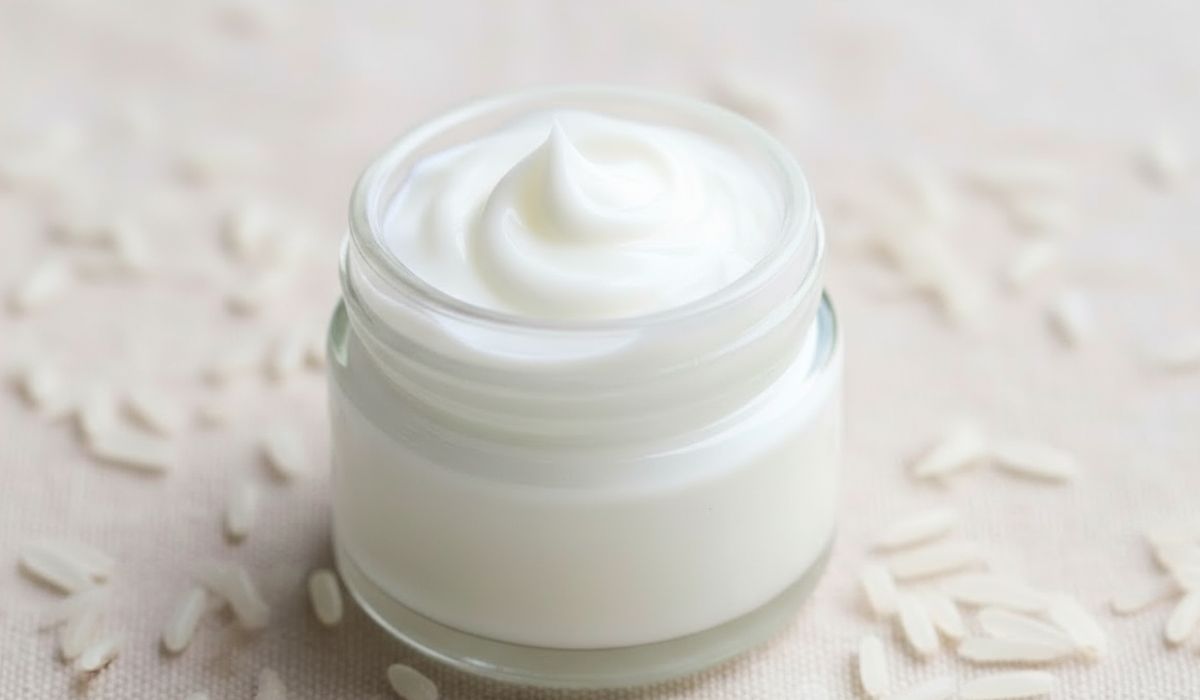
This Homemade Rice Milk Facial Cream Recipe is gentle and perfect for soft skin. It helps moisturize and brighten the face naturally. You can make it at home with very simple ingredients.
This Homemade Rice Milk Facial Cream Recipe is safe for all skin types. It feels light and creamy on the skin. The rice milk nourishes and calms dry or sensitive skin.
You can use it every day to keep your skin smooth. Making it at home lets you know exactly what is in it. Try this Homemade Rice Milk Facial Cream Recipe for soft, fresh and glowing skin.
My Experience With This Recipe
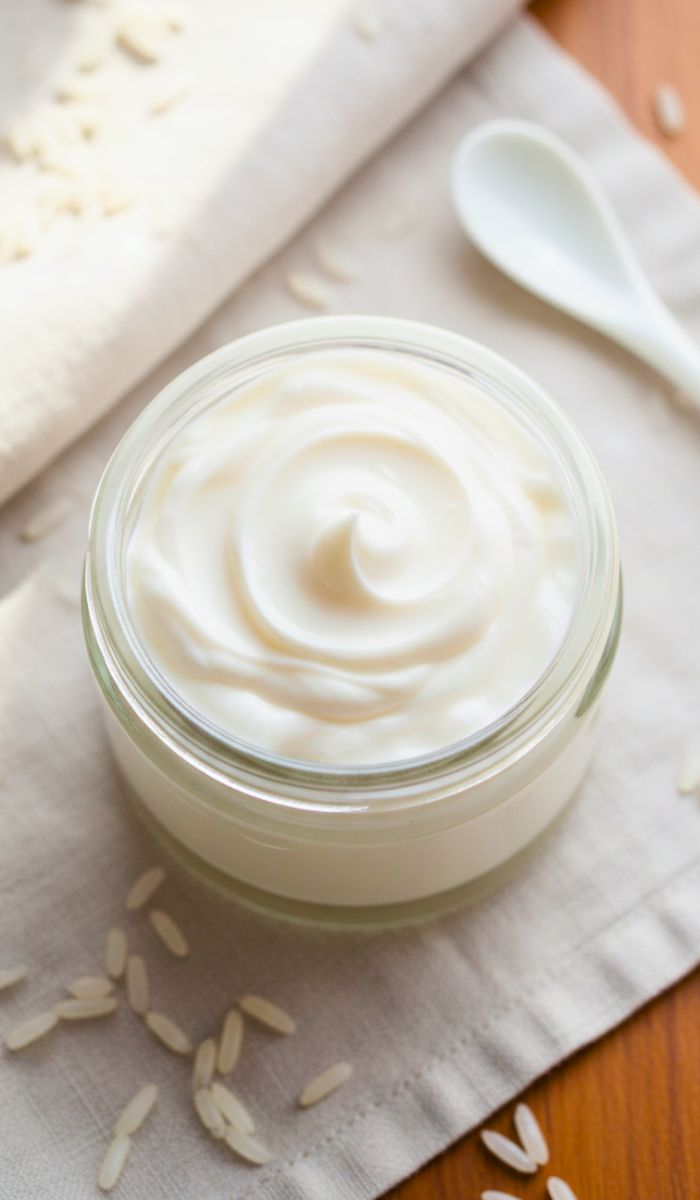
I love this recipe because my skin feels soft immediately. It absorbs quickly without leaving stickiness. I use it after cleansing my face. My skin looks fresh and hydrated in the morning.
The rice milk adds a calming effect. It is very gentle and perfect for daily use. I also enjoy the natural scent. It is fun to make at home. Every batch feels like a mini skincare spa. My skin has never felt better. I recommend it to anyone who wants soft, smooth and glowing skin.
Recipe Card Info
- Recipe Name: Homemade Rice Milk Facial Cream
- Servings: 1 small jar
- Prep Time: 10 mins
- Cook Time: 5 mins
- Total Time: 15 mins
- Course: Skincare
- Cuisine: DIY Beauty
- Calories: Not applicable
Equipment List
- Small saucepan
- Mixing bowl
- Spoon or whisk
- Measuring cups and spoons
- Blender (optional)
- Clean jar with lid
Ingredients You Need for Homemade Rice Milk Facial Cream
- ½ cup rice milk
- 2 tablespoons coconut oil
- 1 tablespoon shea butter
- 1 teaspoon almond oil
- 1 teaspoon beeswax
- 3–4 drops essential oil (optional)
Instructions
- Heat Rice Milk
Pour rice milk into a small saucepan. Heat gently on low, do not boil. - Melt Coconut Oil and Shea Butter
In another bowl, melt coconut oil and shea butter together. Stir until smooth. - Add Beeswax
Add beeswax to the melted oils. Mix until fully melted and creamy. - Combine Rice Milk and Oils
Slowly pour warm rice milk into the oil mixture. Whisk continuously for smooth blend. - Add Almond Oil
Add almond oil. Stir well to make the cream silky and soft. - Add Essential Oil
Add a few drops of essential oil for a gentle scent. Mix evenly. - Blend Cream
Use a hand blender or whisk. Blend for one minute until smooth and thick. - Pour Into Jar
Pour the cream into a clean jar. Close the lid tightly to keep it fresh. - Cool and Set
Let the cream cool to room temperature. It will thicken as it sets. - Apply on Skin
Use a small amount on your face. Massage gently until fully absorbed.
Recipe Tips
- Heat ingredients slowly to avoid burning the oils or rice milk.
- Use fresh rice milk for best results.
- Adjust the oil amount for thicker or lighter cream.
- Store in a clean jar to prevent contamination.
- Optional essential oils can add calming or refreshing scents.
Serving Suggestions
Use this facial cream every morning or night on clean skin. Apply a small amount and massage gently. It works best after cleansing and toning.
The cream keeps your skin soft, smooth and hydrated. You can also use it on your neck and hands. Daily use improves texture and adds a gentle glow.
Best Sides To Serve With
This skincare cream pairs well with other DIY beauty products. Use it after a gentle rice water toner. A homemade face mask or a hydrating serum also works well. Combining these creates a simple, natural skincare routine for glowing skin.
Storage and Reheating Tips
Store the cream in a cool, dry place. It lasts up to two weeks. Avoid heat and direct sunlight. Do not microwave to reheat. If it separates, stir gently before use. Always use a clean spoon to take out cream to avoid contamination.

Homemade Rice Milk Facial Cream Recipe
Ingredients
- ½ cup rice milk
- 2 tablespoons coconut oil
- 1 tablespoon shea butter
- 1 teaspoon almond oil
- 1 teaspoon beeswax
- 3 –4 drops essential oil optional
Instructions
Heat Rice Milk
- Pour rice milk into a small saucepan. Heat gently on low, do not boil.
Melt Coconut Oil and Shea Butter
- In another bowl, melt coconut oil and shea butter together. Stir until smooth.
Add Beeswax
- Add beeswax to the melted oils. Mix until fully melted and creamy.
Combine Rice Milk and Oils
- Slowly pour warm rice milk into the oil mixture. Whisk continuously for smooth blend.
Add Almond Oil
- Add almond oil. Stir well to make the cream silky and soft.
Add Essential Oil
- Add a few drops of essential oil for a gentle scent. Mix evenly.
Blend Cream
- Use a hand blender or whisk. Blend for one minute until smooth and thick.
Pour Into Jar
- Pour the cream into a clean jar. Close the lid tightly to keep it fresh.
Cool and Set
- Let the cream cool to room temperature. It will thicken as it sets.
Apply on Skin
- Use a small amount on your face. Massage gently until fully absorbed.
Notes
- Heat ingredients slowly to avoid burning the oils or rice milk.
- Use fresh rice milk for best results.
- Adjust the oil amount for thicker or lighter cream.
- Store in a clean jar to prevent contamination.
- Optional essential oils can add calming or refreshing scents.
FAQs about Homemade Rice Milk Facial Cream Recipe
1. How long does this cream last?
This cream lasts about two weeks in a cool place. Always store it in a clean jar. Small batches are best for freshness.
2. Can I use it every day?
Yes, you can apply it daily. It is gentle and safe for all skin types. Use more on dry areas.
3. Can I replace coconut oil?
Yes, you can use almond oil or jojoba oil. Keep the total oil amount the same for best results.
4. Is this suitable for sensitive skin?
Yes, it is very gentle. Patch test first if you have very sensitive skin. Essential oils may irritate some people.
5. Why is my cream watery?
It may be because rice milk is too thin or oil ratio is low. Blend longer or adjust oils.
Conclusion
This Homemade Rice Milk Facial Cream Recipe is simple, gentle and nourishing. It moisturizes and softens skin naturally. You can make it quickly at home.
The cream feels light, smooth and refreshing. Daily use keeps skin hydrated and glowing. Try this recipe to enjoy soft, healthy and happy skin every day.
Sara Collins is a food blogger at TastyDive. She shares simple and family-friendly recipes made with everyday ingredients. Her mission is to help home cooks enjoy tasty meals without stress.